Introduction
I always wondered how bigger companies with a huge amount of new computers configured them all. Installing it on one of the new pc's and then clone the HDD is an option. But today we are using the "Windows Deployment Services" With this you can install an operating system over the network. More information how it works I will not cover, just go to Wikipedia.First we need to install the role.
 |
| Install "Windows Deployment Services". |
 |
| Open the "Windows Deployment Services" management console. |
 |
| Open the configuration wizard. |
 |
| Follow the steps in the wizard. |
 |
| We are using this server in a domain so we want to integrate it in the AD. |
 |
| Because this is just a test server we use the default location, in a production environment you won't use this. |
 |
| Let the wizard do his job. |
 |
| Yes, we want to add images to the server... |
 |
| I mounted the ISO of Windows 8.1 to the D drive, this can be different in your setup. |
 |
| Insert a group name for this image. |
 |
| Check your settings. |
 |
| The wizard is now copying the necessary files to the server. |
 |
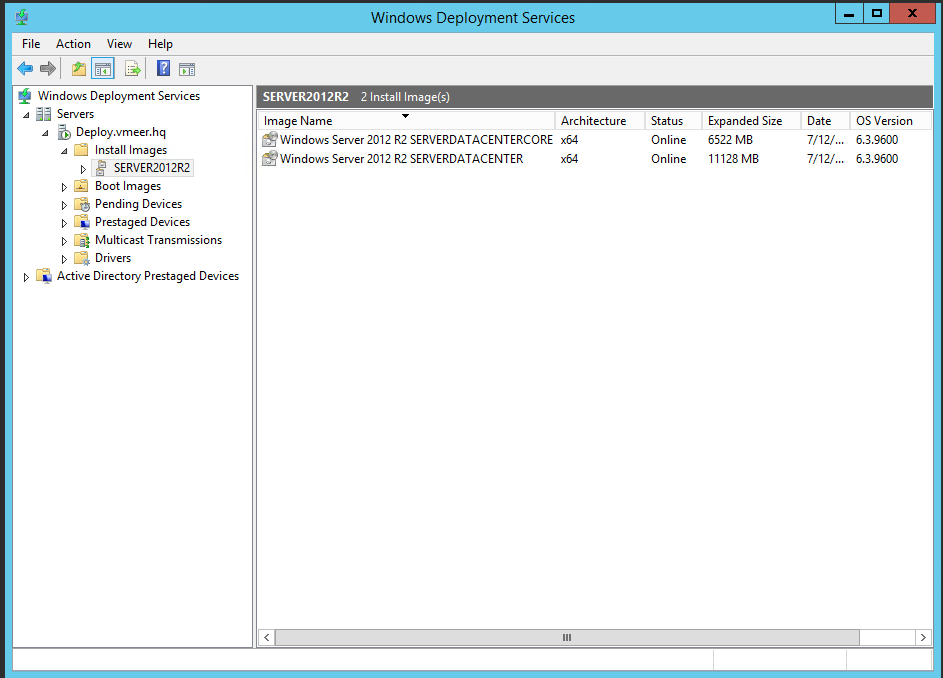
| The import is done. |
 |
| Next open the "Windows System Image Manager (WSIM)". Here we will create our answer file. The link to the download can be found at the bottom of this post. |
 |
| Now we need to import our installation of Windows. |
 |
| Choose the "install.wim" from your installation folder. This is located in the "sources" folder. |
 |
| Now we need a distribution share to work in. |
 |
| Select a folder. |
 |
| Now create a clean answer file. |
 |
| Now scroll in the Windows Image Components section. Search for "Microsoft-Windows-International-Core-WinPE", right click it an add it to the WindowsPE setting. |
 |
| Specify the settings, my InputLocale is for Belgium, this can be different for your language. A list of codes you can find over here. |
 |
| You can specify the language of the setup over here. |
 |
| Next add the "Windows Setup" module to the WindowsPE. |
 |
| You can delete the settings you won't change. |
 |
| Insert a new disk. And configure it like here. This setup is for EFI, of Gen2 Hyper-V machines. |
 |
| Get the filename and name of the version you want to install. |
 |
| And enter it over here. |
 |
| Here you specify to which disk and partition you want to install windows. |
 |
| If you don't want to enter your credentials every time you can enter them over here. If you don't you will be prompted for them when the installation starts. |
 |
| Automatic accept the Eula. |
 |
| Next add the shell setup to the specialize. |
 |
| You can configure the computer name. |
 |
| Now add the Shell Setup to the oobeSystem. |
 |
| And configure the local administrator password if you want. |
 |
| Save the answer file in Deployment folder. |
 |
| Now we only need to configure the server to choose this answer file when a PXE request is received by the server. |
 |
| Now we can test! |
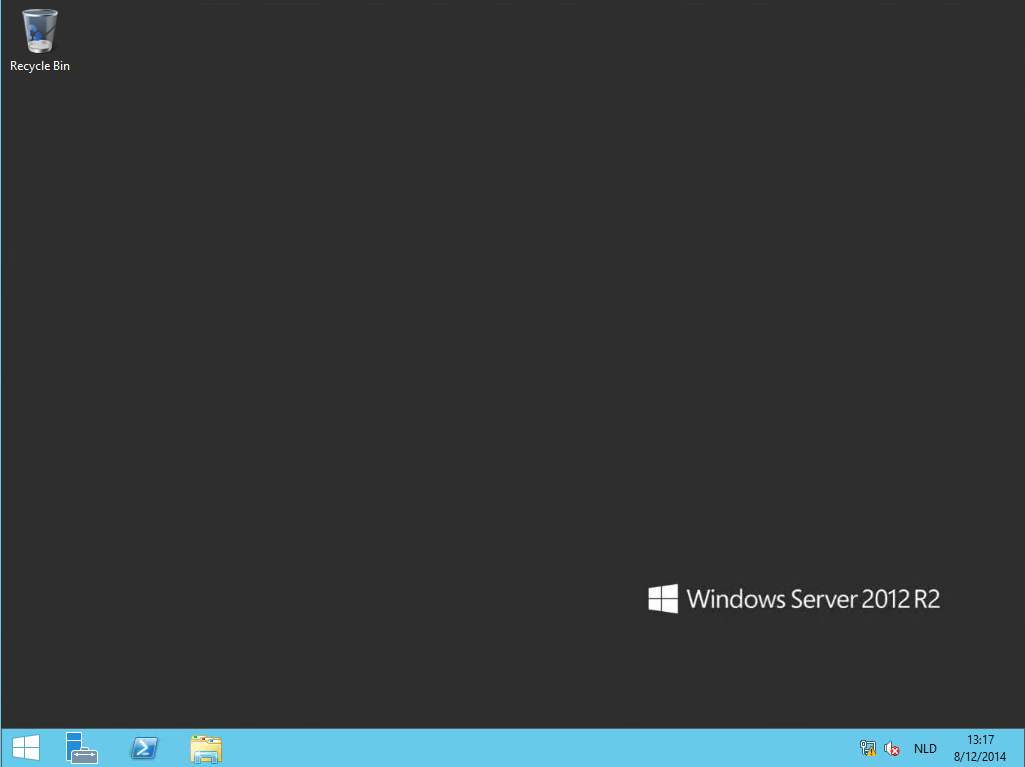
Now I can create a new test-server by just adding a new VM in Hyper-V. It will automatically install the OS and configure the basic steps.
Links
Windows System Image Manager (32 bit)Windows System Image Manager (64 bit)


I think you can make a video for youtube about it. From here https://soclikes.com you can buy likes and views for your video
ReplyDeleteDownload Software for PC & Mac
ReplyDeleteYou make it look very easy with your presentation, but I think this is important to Be something that I think I would never understand
It seems very complex and extremely broad to me. I look forward to your next post,
DaisyDisk Mac Crack
NTLite Crack
Avocode Crack
ESET NOD32 Antivirus Crack
BluffTitler Ultimate Crack
GeoGebra Crack
RiskyProject Professional Crack
After looking through a few blog articles on your website,we sincerely appreciate the way you blogged. “Thank you so much for sharing all this wonderful info with the how-to's!!!! It is so appreciated!!!” “You always have good humor in your posts/blogs. So much fun and easy to read!
ReplyDeleteDRmare M4V Converter Crack
Airfoil Crack
Machinery HDR Effects Crack
Steinberg Nuendo Crack
Using Windows Deployment Services On 2012 R2 - Jürgen'S Blog >>>>> Download Now
ReplyDelete>>>>> Download Full
Using Windows Deployment Services On 2012 R2 - Jürgen'S Blog >>>>> Download LINK
>>>>> Download Now
Using Windows Deployment Services On 2012 R2 - Jürgen'S Blog >>>>> Download Full
>>>>> Download LINK Be
Using Windows Deployment Services On 2012 R2 - Jürgen'S Blog >>>>> Download Now
ReplyDelete>>>>> Download Full
Using Windows Deployment Services On 2012 R2 - Jürgen'S Blog >>>>> Download LINK
>>>>> Download Now
Using Windows Deployment Services On 2012 R2 - Jürgen'S Blog >>>>> Download Full
>>>>> Download LINK Ym